Creating an Active Directory connection
You can use CyberArk Configuration Console to create and view Active Directory connections. Trust Protection Foundation can connect to Active Directory via an IPv4 or IPv6 connection. You can create multiple Active Directory connections as necessary.
The Active Directory Connection integrates Trust Protection Foundation with an Active Directory tree. The connection allows Trust Protection Foundation to read User and Group data directly from Active Directory. So, you can log in as an external user, view external users and groups in the Identity tree, select external users or groups as object Contacts, and assign object permissions to external users and groups.
To create an Active Directory connection
- Remote into the Trust Protection Foundation server as a master administrator.
- From the Windows Start menu, click CyberArk Configuration Console.
- In the left pane of CyberArk Configuration Console, click Connectors.
- In the right Actions pane, Click Active Directory Connector.
- If prompted, log in with your Trust Protection Foundation local, master administrator credentials.
-
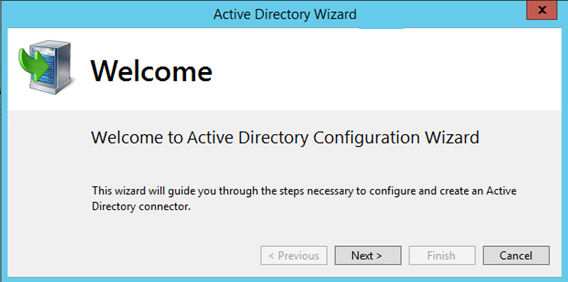
On the Welcome page, click Next and then log in with your credentials.
- On the Before You Begin page, read the requirements. Be sure you know the AD root you want for the Root Selection step. Click Next.
-
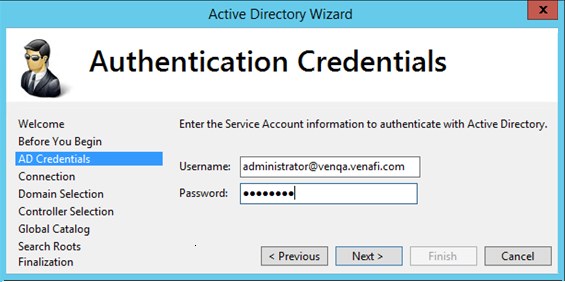
On the Authentication Credentials page, type the credentials for the Active Directory service account, and then click Next.
The username must be in the User Principal Name (UPN) format.
-
On the Connection page, enter the following information, and then click Next.
-
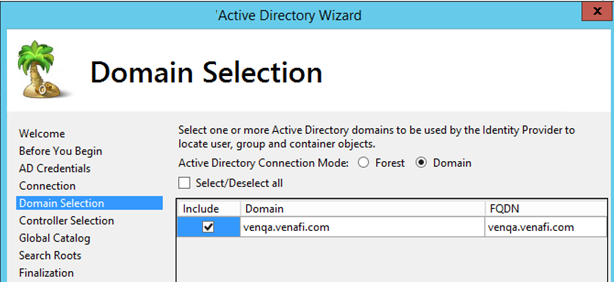
On the Domain Selection page, select the domains or forests to include, then click Next.
-
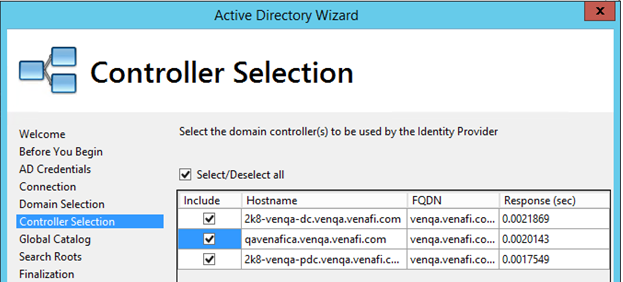
On the Controller Selection page, review the discovered domain controllers, and verify the correct controllers are selected for this network segment, then click Next.
-
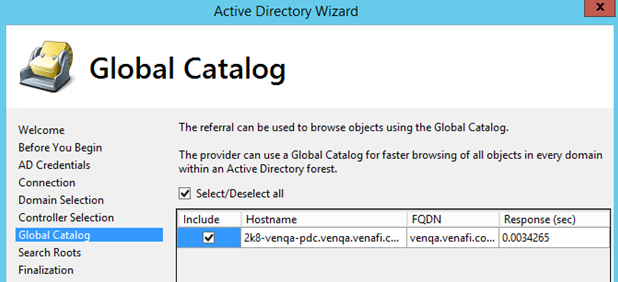
(Optional) On the Global Catalog page, review the discovered global catalogs, then click Next.
-
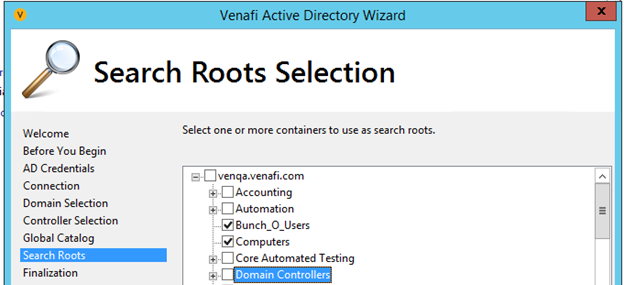
On the Search Roots Selection page, select the containers, and then click Next. If an error occurs, try the Common Name (CN) that appears in the error message as the container name.
Select nodes or containers where users connecting to Trust Protection Foundation are found. If the users are in a node that is not selected, they will not be able to authenticate with Trust Protection Foundation.
-
On the Finalization page, specify the following, and then click Finish:
Parameter name Description Object Name Object Name that will appear in the Trust Protection Foundation Identity tree. Friendly Name A friendly name for the AD connection. This is part of the Prefix for the identity connector. The complete Prefix will end up as AD+FriendlyName. This name should be easy to use and remember. A prefixed name, for example the AD+FriendlyName, is one of the allowed login formats. Resolve Nested Groups (Optional) The provider expands nested groups while processing notifications. Rank (Optional) The order the Identity connectors are searched when looking for users.
For example, let's assume the username is Bob. If there is a username called Bob in the local identity system and the AD connector, we set the identity connector to tried first. Most likely, it is the AD connector, which means the AD connector needs to have a lower rank (highest priority). You would set the rank for the AD connector to 0 and the Local identity connector to 1.
What's next
- Restart the Trust Protection Foundation and CyberArk Log server.
- Restart server services on all Trust Protection Foundation servers.
- Restart the IIS web server on all applicable Trust Protection Foundation servers.
- To review or update basic settings from CyberArk Configuration Console, click Properties.