Manually calling Discovery/Import with Scanafi data
You can use the CyberArk Scanafi command line utility to add network certificates to Trust Protection Foundation. In Standalone mode, Scanafi discovers and adds TLS 1.0, 1.1, 1.2, and 1.3 certificates to a JSON endpoints file. The utility no longer scans for the SSLv2 protocol.
Standalone mode is helpful when the Scanafi computer cannot access POST Discovery/Import. When the scan completes, you copy the output to your development environment, and then call POST Discovery/Import to add the certificates to a policy folder.
To manually call Discovery/Import with Scanafi data
- Download the latest executable and documentation from the [Trust Protection Foundation Installation folder]\Utilities\Scanafi\Venafi_Scanafi_Update.
-
Use the latest documentation to customize the sample in this topic.
JSON keys JSON Key
Description
id
The Application ID. Specify scanafi.
inputs
An array of scan parameters.
log_level
(Optional) Specify one: trace, debug, Info (default), warning, error, fatal.
outputs
The scan source and destination of the Discovery results.
path
The directory and endpoint JSON file name. Use valid syntax for your operating system. For example:
- Windows: C:\\Tpp\\Scanafi\\report.json
- Linux, macOS: //home//user//Scanafi//report.json
password
The Trust Protection Foundation password.
ports
(Optional) If this parameter is not specified, Scanafi uses default port 443. An array of comma separated or range of ports for scanning. For example "443","80", "8080-8089". The scan priority is from the highest port number to the lowest.
provider
The scan source and destination of the Discovery results.
scan_configuration
Specify ciphers_scan true and certificates_only_scan true.
subnet
The scan range in Classless Inter-Domain Routing (CIDR) format.
threads
(Deprecated)
username
The Trust Protection Foundation user name.
For example:
{ "zone":"test zone", "id":"test default", "scan_configuration":{ "ciphers_scan":true, "certificates_only_scan":true }, "provider":{ "type":"default", "inputs":[ { "type":"CIDR", "subnet":"192.168.0.0/25", "ports":[ 443, 80, 8080-8089 ] } ], "outputs":[ { "type":"file", "path":"C:\\Tpp\\Scanafi\\report.json", "report_json":true } ] } } - From a command line, navigate to the Scanafi directory.
-
Run Scanafi with these required flags. The parameters are case sensitive.
For example: scanafi_win_x64.exe --config [path]\[inputFN]
--config     Path to the JSON input file
[inputFN]    Name of the input JSON file
-
(Optional) Use additional flags from scanafi_win_x64 -h.
-
After Scanafi completes, open and confirm the JSON output file. For example:
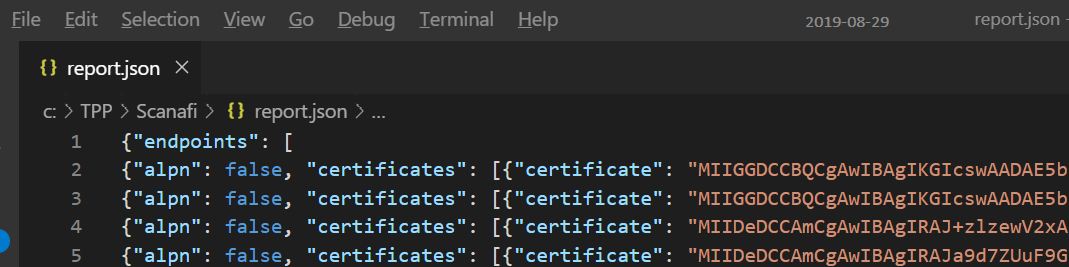
-
Copy the endpoint data to your development environment, and then call POST Discovery/Import.