Configuring Environment Variables
Environment variables help you to key off of specific information you have set on servers for grouping. This is helpful when other attributes, such as Operating System Name, are not sufficient to group agents in the way you'd like.
Each time an agent checks in with Trust Protection Foundation, Trust Protection Foundation requests information about that system, including its IP address, operating system, and DNS name. In addition, you can enter specific environment variables to request from agents to use as a means of further limiting systems to those that you want to add to a specific group. Rather than collecting all environment variables—which on many systems can include hundreds—this feature lets you specify a subset of those variables that, if configured on your client systems, should be sent to Trust Protection Foundation for use with group rules.
EXAMPLE Suppose you've defined an environment variable called DEPT on each of your servers in order to identify company departments (e.g., MKTG, FINANCE, ENG) to which they are assigned. You enter DEPT as an environment variable while configuring Client Group Settings membership rules. By entering DEPT as an environment variable to request from clients, each of the department servers will return the value of DEPT to Trust Protection Foundation when they check in. So, to group all clients with an environment variable for marketing, you could define a rule that includes "DEPT equals MKTG."
IMPORTANT Before completing the following task, you need to know the exact names of the environment variables that you want to collect from Server Agent-enabled systems. You must be able to enter them here exactly as they are defined on those systems.
To record environment variables
- From the Certificate Manager - Self-Hosted menu bar, click Clients> Agent Registration Settings.
-
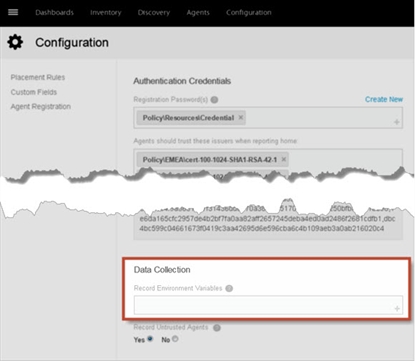
Under Data Collection, in the Record Environment Variables field, type the name of a previously defined variable, and then press Enter.
- (Optional) Type additional variables, as needed.
- Click Save.